HealthCare Infection Prevention

Mastering Infection Prevention: Courses on Fluids and Best Practices with MicroCare
Medical The MicroCare Academy offers comprehensive training on infection prevention, focusing on the best fluids and methods for MicroCare Medical and MicroCare Dental applications. These courses equip participants with the knowledge to select and use the most effective cleaning and disinfecting solutions for various medical and dental instruments, ensuring safety and compliance with industry standards.
The curriculum emphasizes practical expertise, with detailed FAQs, step-by-step guides, and engaging tutorial videos. Participants will learn essential techniques for pre-cleaning, soaking, and disinfection, gaining the confidence to apply these methods effectively in real-world healthcare settings.
Endoscope Cleaning: A Step-by-Step Guide to Infection Prevention and Instrument Longevity
Endoscope Cleaning: A Step-by-Step Guide to Infection Prevention and Instrument Longevity
Cleaning an endoscope after use is a critical process that ensures patient safety, prevents costly damage, and extends the life of these essential medical tools. This comprehensive training course provides step-by-step guidance on cleaning both the inside and outside of an endoscope, focusing on proper techniques, best practices, and the importance of immediate action to prevent contamination. Participants will learn about the risks of improper cleaning, the tools required for thorough disinfection, and how to maintain the delicate components of an endoscope. By the end of this hands-on session, attendees will have the skills and confidence to effectively clean endoscopes while adhering to safety and infection control standards.
Course Content:
Welcome
This course provides a comprehensive approach to cleaning the inside and outside of endoscopes, emphasizing proper techniques, safety protocols, and best practices to ensure cleanliness and device longevity.
Proper cleaning is critical for several reasons. It prevents infection, maintains the integrity of the instrument, and ensures that it functions as it should for future procedures.
- Endoscopes come into contact with bodily fluids, tissue, and other bio-contaminants during use.
- Failure to clean them properly can lead to infection transmission, costly repairs, and damage to the endoscope.
Overview of Components to be Cleaned
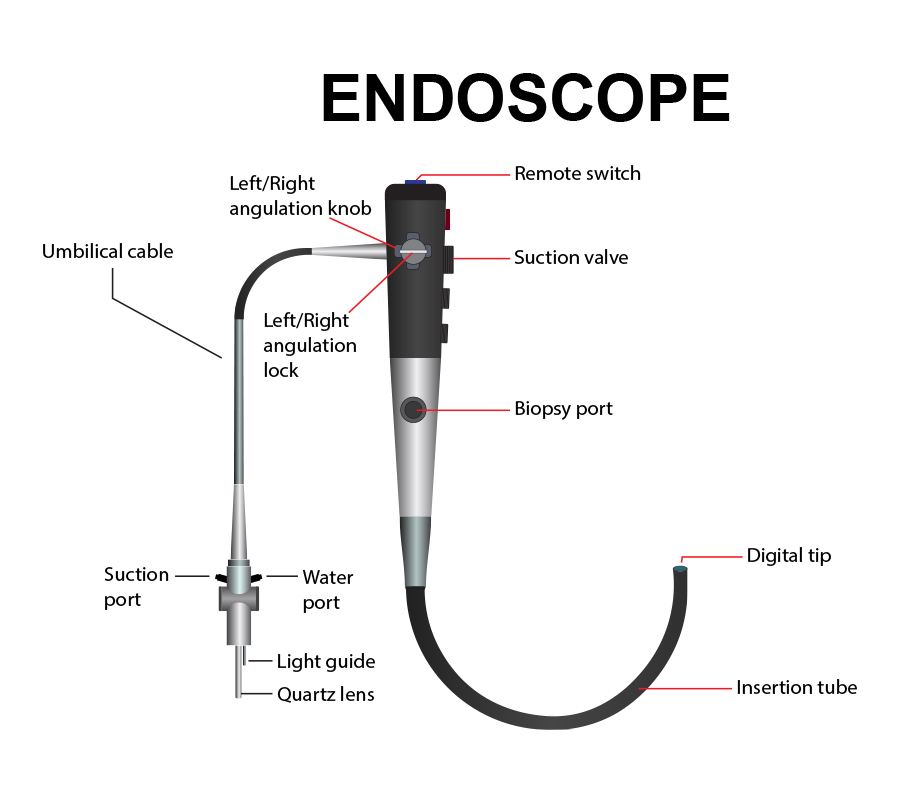
To clean an endoscope thoroughly, we must focus on both the outside and inside components.
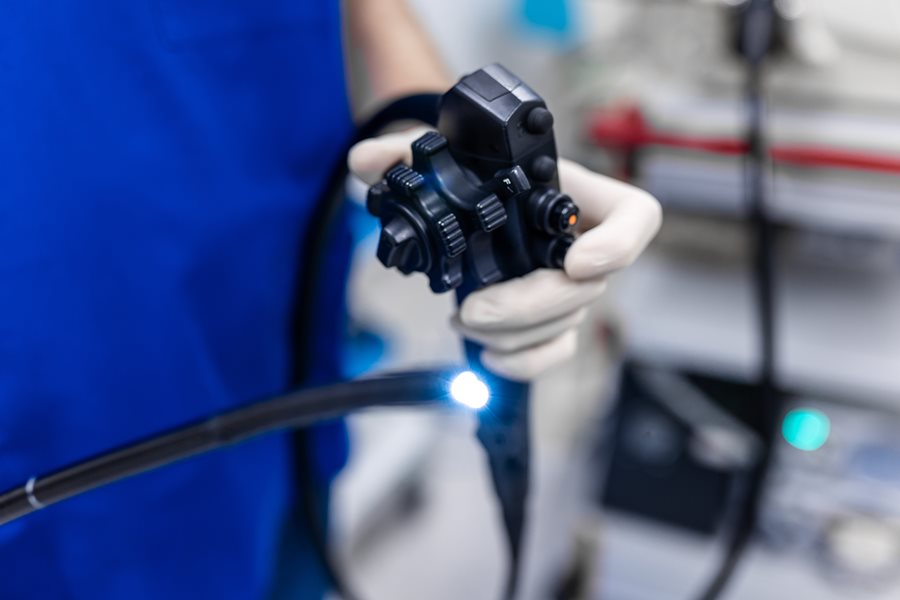
- External Surfaces: Include the insertion tube, control body, umbilical cord, and buttons.
- Internal Channels: Such as suction, biopsy, air/water, and working channels.
- Distal Tip & Light Guide: These require special care because they are delicate and prone to contamination.
Pre-Cleaning at Point of Use
Pre-cleaning should begin immediately after use, before transporting the endoscope for full cleaning.
Steps:
- Immediate Rinsing:
Wipe the outside of the endoscope with a soft cloth or sponge to remove gross contaminants. - Careful Handling:
Be mindful to prevent kinks or damage while cleaning.
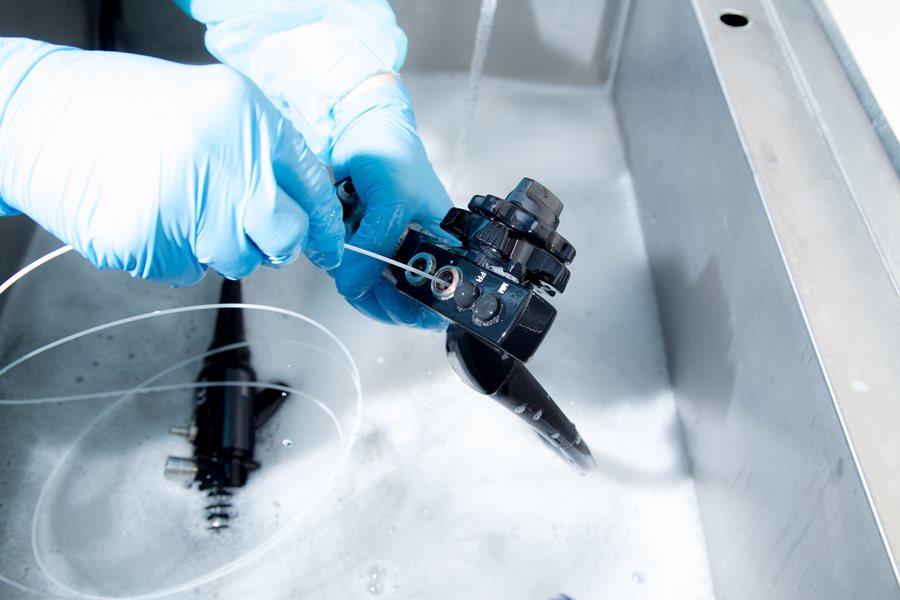
Cleaning the Outside of the Endoscope
Let’s dive into cleaning the external surfaces.
Steps:
- Step 1: Leak Testing
Perform a leak test to ensure no damage before immersing the endoscope in cleaning solutions. - Step 2: External Wipe Down
Use an enzymatic detergent and a lint-free cloth or cleaning sponge like the Spec Clean™ Endoscope Sponge to clean the insertion tube and handle. - Step 3: Control Head and Buttons
Gently scrub around the control buttons and handle with a soft brush to remove residue. - Step 4: Rinse
Rinse the external surfaces with clean water to remove the detergent.
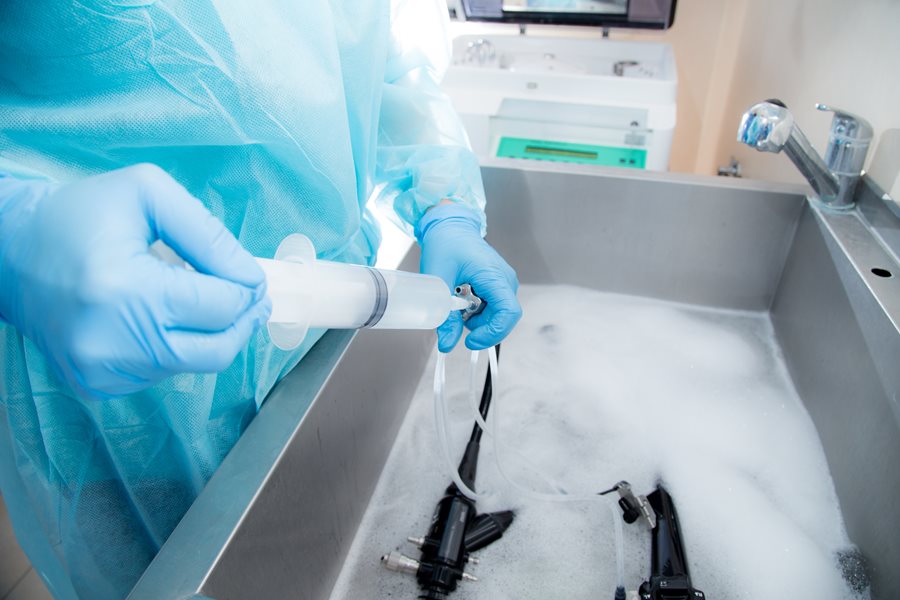
Cleaning the Inside of the Endoscope (Channels)
Now, we’ll focus on cleaning the internal channels, which is a crucial part of ensuring no contaminants remain inside.
Steps:
- Step 1: Manual Brushing
Insert a channel brush designed for endoscopes into the air/water, suction, and biopsy channels. Move the brush back and forth to dislodge debris. - Step 2: Flushing the Channels
Flush each channel with an enzymatic cleaning solution using a syringe or flushing device. - Step 3: Suction Channel Cleaning
Draw cleaning solution through the suction channel and rinse thoroughly to remove debris. - Step 4: Cleaning the Distal Tip & Light Guide
Use a small brush to gently clean these delicate parts.
Final Rinsing Channels
After brushing and flushing, we need to ensure that all channels are properly rinsed and dried.
Steps:
- Rinse Channels:
Flush with sterile water to remove any remaining cleaning solution. - Inspect:
Use a borescope to visually inspect the endoscope’s channels for cleanliness.
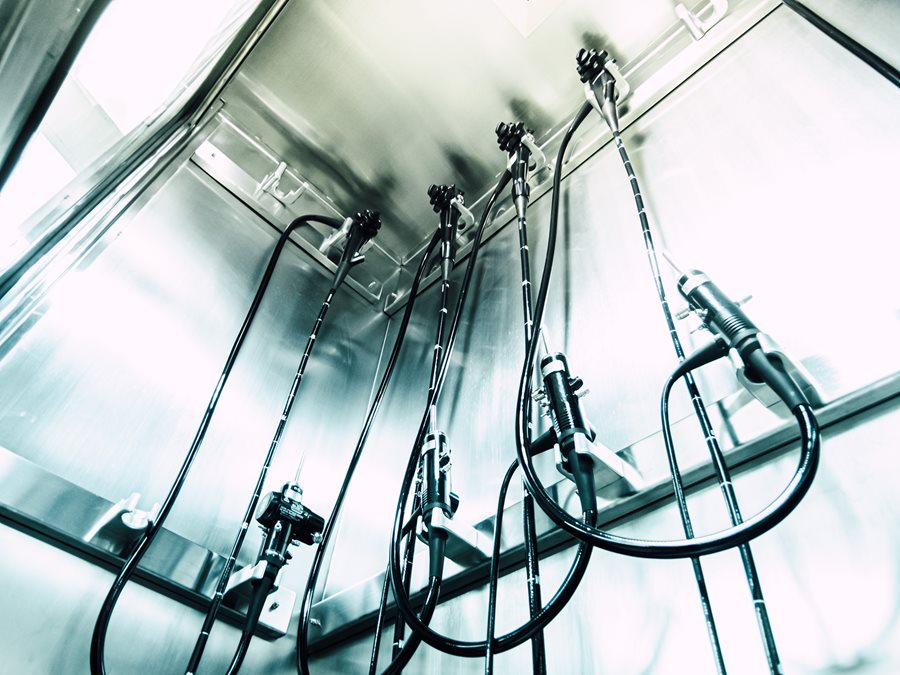
Drying the Endoscope
Proper drying and storage are just as important as cleaning.
Steps:
- Ensure that the endoscope is completely dry before storage to prevent microbial growth.
- Use air or a drying pump to ensure the channels are moisture-free.
- Store the endoscope in a well-ventilated, clean cabinet.
Best Practices for Endoscope Cleaning
Here are some best practices to remember while cleaning.
- Start cleaning as soon as possible after use.
- Handle the endoscope carefully to avoid damage to delicate parts.
- Inspect each part thoroughly to ensure all contaminants have been removed.
Special Considerations for Reusable Endoscopes
Keep in mind that reusable endoscopes may require specific care.
- Follow the manufacturer's cleaning instructions carefully.
- Ensure that cleaning detergents are compatible with the materials of the endoscope.
Safety and Infection Control Guidelines
Throughout the process, it's critical to follow safety guidelines.
- Always wear appropriate PPE (gloves, masks, gowns).
- Dispose of single-use tools like brushes and sponges properly.
- After cleaning, move the endoscope to high-level disinfection or sterilization.
Conclusion
Let’s review the key takeaways from today’s training: thorough cleaning is essential to prevent infection, maintain the endoscope, and ensure it functions properly.
Resources for Further Learning
Endoscope Cleaning Fluids and Tools:https://www.microcare.com/en-US/Applications/Healthcare-Infection-Prevention/Surgical-Instrument-Cleaning-Reprocessing?category=0&application=SurgicalInstrumentCleaning_Reprocessing&industry=0&page=2
Videos
How to Clean an Endoscope for Veterinary Practices: https://www.microcare.com/en-US/Resources/Resource-Center/Videos/How-to-Clean-an-Endoscope-for-Veterinary-Practices
How to Use the Spec Clean Endoscope Sponge in Veterinary Practices: https://www.microcare.com/en-US/Resources/Resource-Center/Videos/How-to-Use-Spec-Clean-Endoscope-Sponge
Tech Articles
Protect Your Veterinary Endoscopes: https://www.microcare.com/en-US/Resources/Resource-Center/Tech-Articles/Protect-Your-Veterinary-Endoscopes-Key-Pre-CleaninThe Benefits of Using Enzymatic Sponges for Endoscope Cleaning: https://www.microcare.com/en-US/Resources/Resource-Center/Tech-Articles/Benefits-of-Using-Enzymatic-Sponges-for-Endoscope